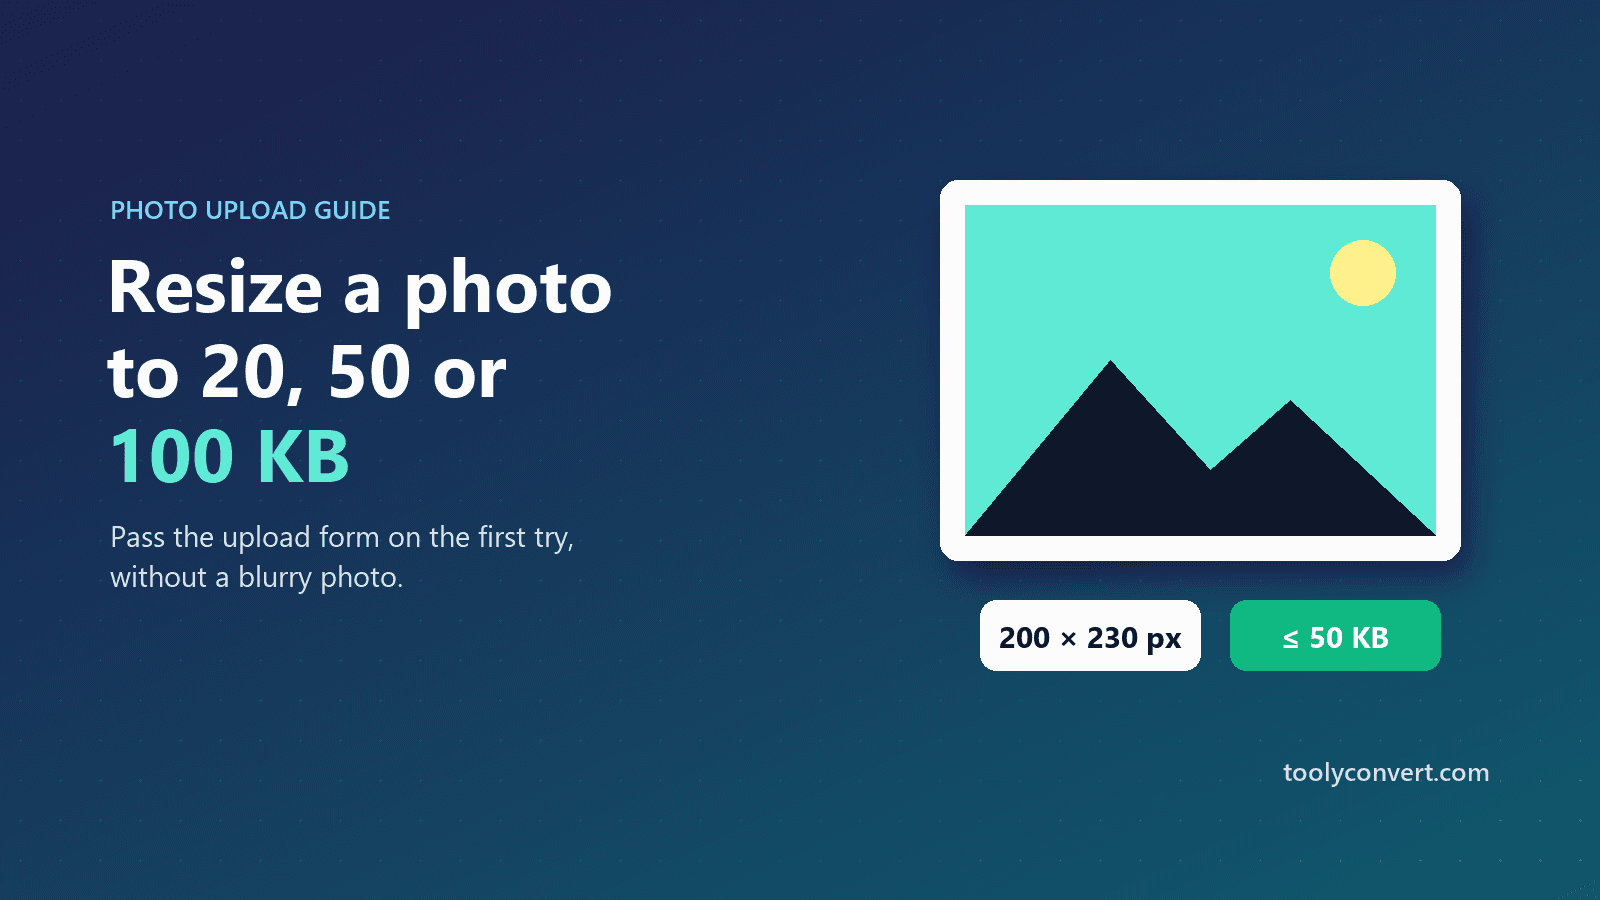
It is late, the application closes at midnight, and the upload box keeps saying the same thing: "Photo size must be between 20 KB and 50 KB." Your photo is 3.4 MB. You try a random website, and the result is either still too big or so blurry that your face looks like a watercolour. Then the signature upload rejects you for a different reason, and the clock keeps moving.
If that sounds familiar, you are in good company. Exam portals, job applications, visa forms and government services all set strict limits on photo and signature files, and phones take pictures that are far larger than any form needs. The fix is quick once you understand the two separate numbers every form cares about.
Two different limits: pixels and kilobytes
Most rejections happen because people mix up these two:
- Dimensions, measured in pixels, such as 200 × 230. This is how big the picture is.
- File size, measured in kilobytes (KB) or megabytes (MB), such as 50 KB. This is how much storage the file takes.
They are related but not the same. A small image can still be a large file if it is saved at maximum quality, and a large image can be a small file if it is heavily compressed. Forms usually check both, and sometimes the file type as well, such as JPG only.
Before you start, write down exactly what the form asks for. For example:
| Requirement | Example value |
|---|---|
| Dimensions | 200 × 230 pixels |
| File size | 20 KB to 50 KB |
| Format | JPG / JPEG |
If the form gives the size in centimetres or inches instead of pixels, that is fine too; you can enter those units directly.
Step by step: hitting an exact size
Using the Image Resizer, which runs in your browser so your photo is never uploaded:
- Add your photo. On a phone, you can pick it straight from your gallery.
- Set the dimensions. Choose pixels and type the width and height the form requires. If it only gives a width, keep the aspect ratio locked so the photo is not stretched.
- Choose JPG as the format, unless the form asks for something else.
- Type the target file size, for example 50 KB. The tool tries different quality levels and picks the highest quality that fits under your limit.
- Download and check the file size shown before uploading.
If the form has a minimum as well as a maximum, such as "between 20 KB and 50 KB", aim a little under the maximum, like 45 KB. You get the best quality without risking a rejection for being a few bytes over.
Resize or compress: which one do you need?
People often use these words as if they mean the same thing, but they solve different problems.
- Resizing changes the dimensions, the number of pixels. Use it when the form specifies a width and height, or when an image is far bigger than it will ever be displayed.
- Compressing keeps the dimensions and reduces the file size by storing the image more efficiently. Use it when the dimensions are already right but the file is too heavy.
For most application forms you need both, which is why setting the dimensions and a target file size in one step is the fastest route. If your photo is already the right size in pixels and only the kilobytes are the problem, the Image Compressor is the simpler choice.
When the photo shape does not match
Forms often ask for a portrait shape, like 3.5 × 4.5 cm, while your phone photo is a different shape. If you force the exact size with the aspect ratio unlocked, faces get squashed or stretched, and that can get an application rejected for reasons that have nothing to do with file size.
A better approach:
- Crop the photo first so your head and shoulders fill the frame in roughly the right proportion. Most phones have a crop tool in the gallery app.
- Then resize to the exact dimensions with the aspect ratio locked.
Signatures need different care
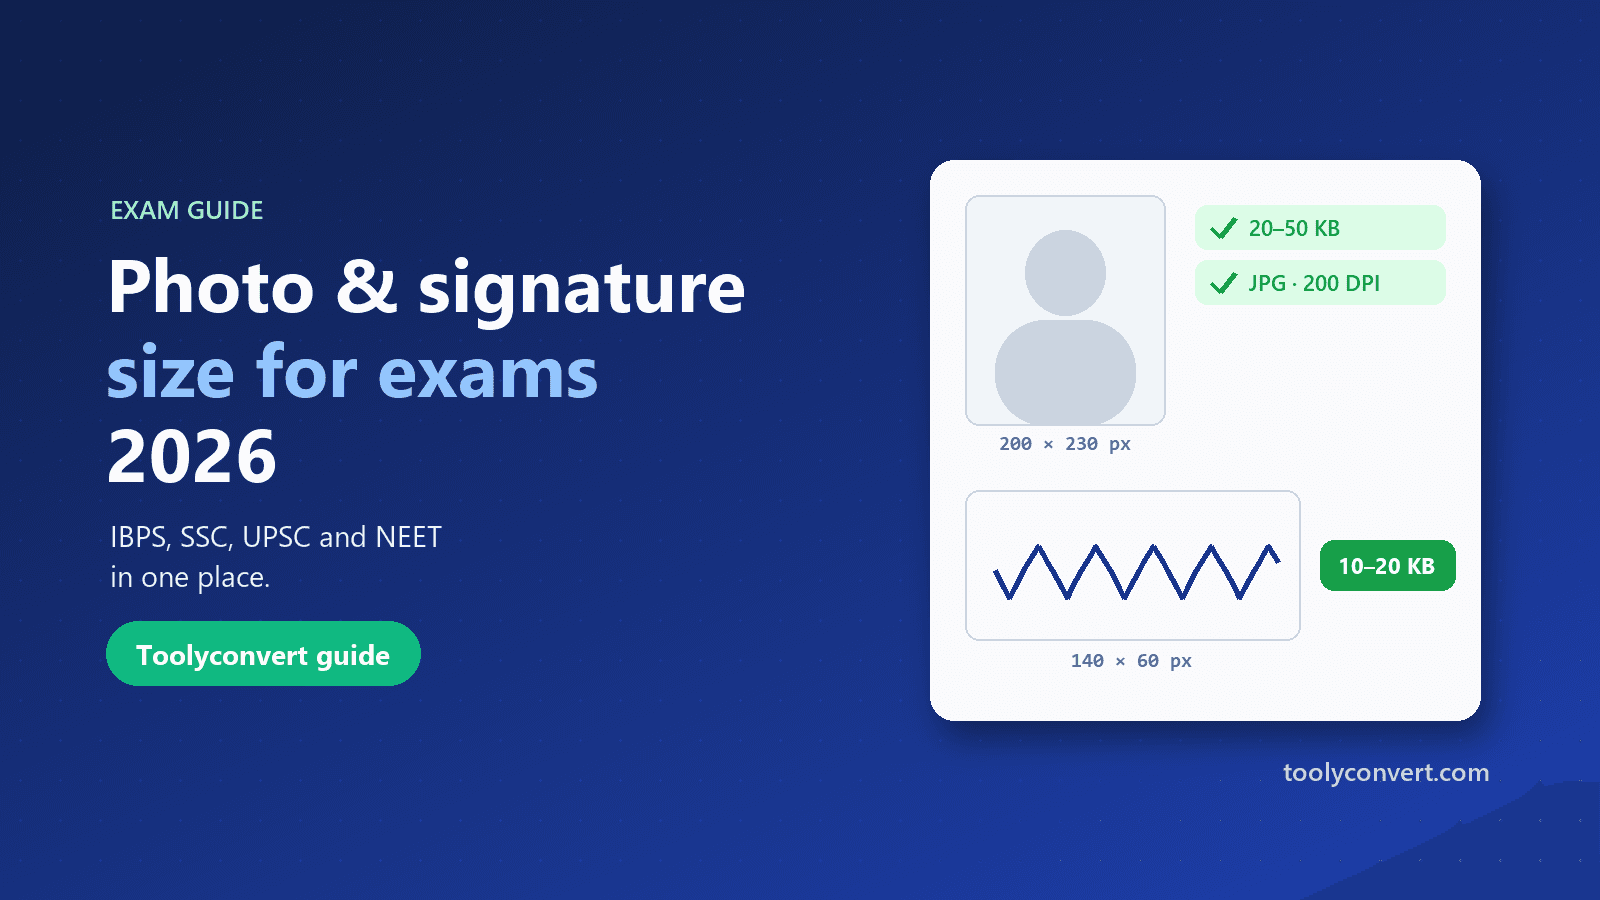
Signatures usually have much smaller limits, often 10 to 20 KB, and they are easy to ruin:
- Sign on plain white paper with a dark pen. Blue or black ink on white gives the cleanest result.
- Photograph it in good, even light, without shadows from your hand or phone.
- Crop tightly around the signature, leaving a small margin.
- Resize to the required dimensions, then set the target size. Signatures compress very well, so small limits are easy to reach without losing sharpness.
Why your photo ends up blurry, and how to avoid it
Blurriness almost always comes from one of three things:
- Enlarging a small image. Resizing up cannot invent detail. Always start from the original, full-size photo, not a screenshot or a copy sent through a chat app, which compresses it.
- An impossible target. Squeezing a large photo into 10 KB forces very heavy compression. If the target is tiny, reduce the dimensions first; fewer pixels need fewer kilobytes.
- Compressing the same file repeatedly. Every JPG save loses a little detail. Go back to the original each time instead of resizing an already resized copy.
Documents and scans
For certificates and ID cards, many portals accept images or PDFs. If a form wants a PDF under a size limit, the Compress PDF tool is a better fit than resizing images one by one, and our guide on compressing a PDF without losing quality explains which setting keeps text readable. If you need to combine several scanned pages into a single file first, see our guide to merging PDFs for applications.
A quick privacy note
Photos taken on a phone often contain hidden information: the camera model, the date, and sometimes the exact GPS location where the picture was taken. When the Image Resizer saves a new copy, this camera metadata is removed, which is a good habit for any photo you upload to a website you do not control. And because the resizing happens on your own device, your ID photo and signature are never sent to our server.
If the upload still fails
Check these, in order:
- The file extension. Some portals accept
.jpgbut reject.jpeg, or the other way round, even though they are the same format. Rename the file if needed. - The exact size in KB. Some systems count 1 KB as 1000 bytes, others as 1024. Aim a few kilobytes under the limit.
- The dimensions. Make sure you did not swap width and height.
- The file name. Avoid spaces and special characters; use something simple like
photo.jpg. - The browser. If the portal itself misbehaves, try a different browser or clear its cache.
Beyond forms
The same technique helps anywhere a file size matters: email attachments, website images that need to load quickly, product photos for an online shop, or pictures for social media. For a website, WebP usually gives smaller files than JPG at the same quality; our guide to Core Web Vitals explains why image size affects how fast pages feel.
Next time an upload box rejects your photo, you will know exactly which of the two numbers it is complaining about, and you will be able to fix it in under a minute, even at 11:58 pm.