Few things are more frustrating than reaching the last step of an exam application and seeing "Invalid file size" or "Image dimensions not as prescribed". Every recruitment portal has its own rules for photographs, signatures and other images, and they are strict: a signature of 21 KB is rejected when the limit is 20 KB, and a photo of the right size but the wrong shape fails too.
This guide collects the photo and signature requirements for the most common Indian exams in one place, explains what the numbers mean, and shows how to prepare every image so it uploads the first time. You can follow along with the free Exam Photo & Signature Resizer, which has these sizes built in and runs entirely in your browser.
First, check your own notification
Requirements change from notice to notice, and different posts under the same body sometimes differ. The figures below were checked in October 2026: the banking values come from IBPS's own upload guidelines, and the others from the latest notices as widely reported. Treat this guide as a head start, not a replacement. Before uploading, open your notification, find the section usually titled "Guidelines for scanning and upload of documents" or similar, and compare.
Where sources disagree, the resizer uses the overlap of the two ranges, so the file passes under either reading.
Banking exams (IBPS PO, Clerk, SO and RRB)
IBPS publishes detailed, consistent rules across its exams. Its upload guidelines ask for four images, all in JPG format:
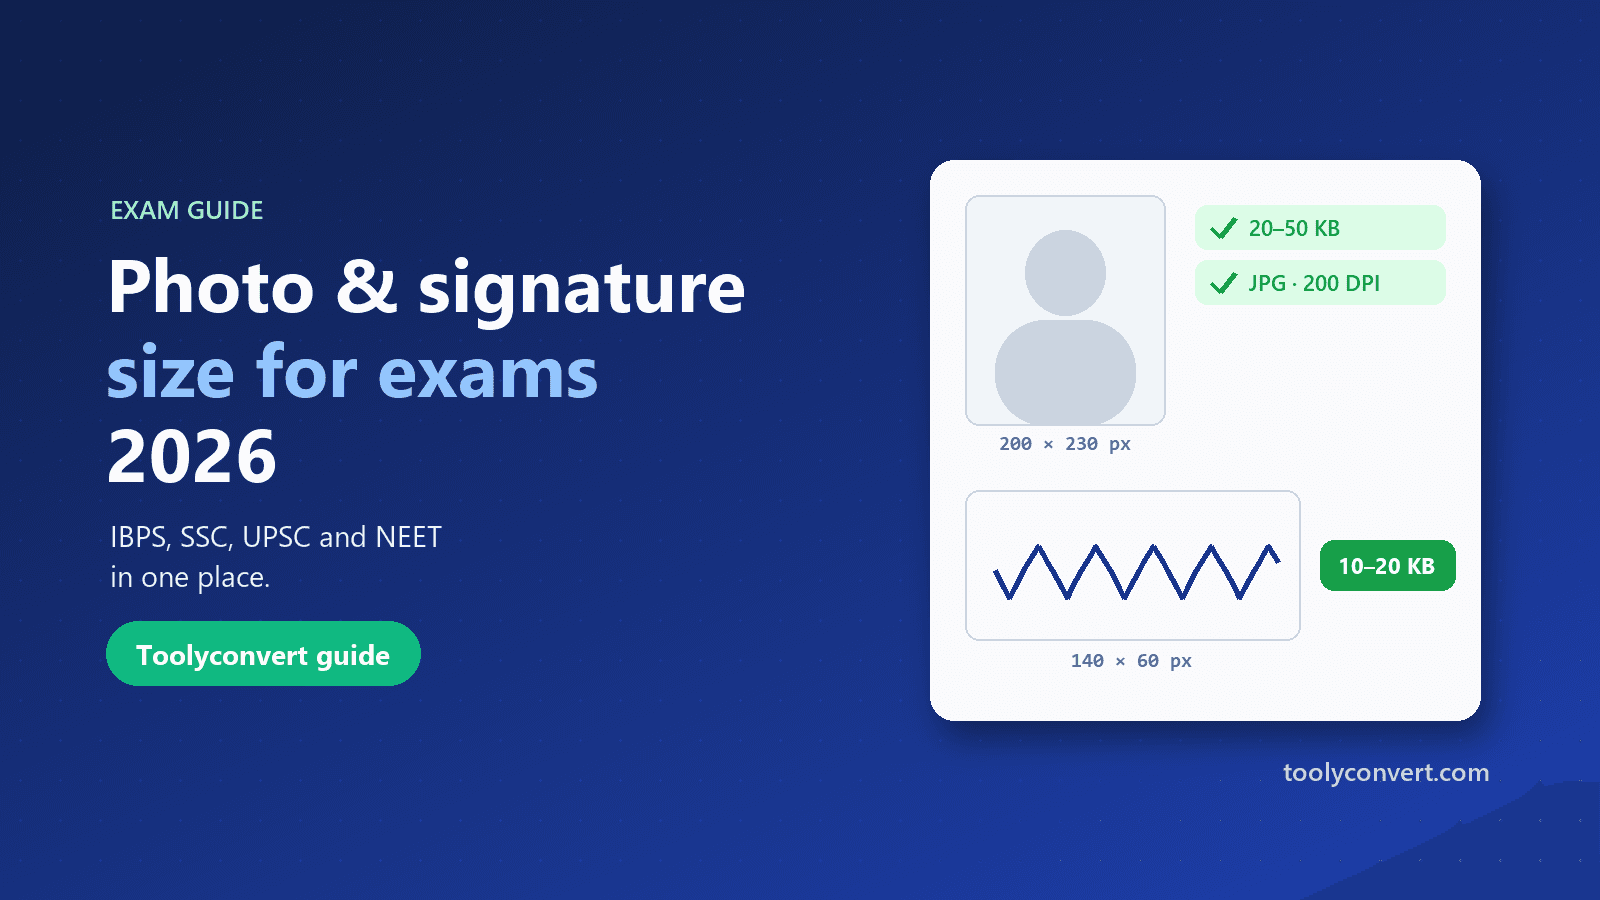
- Photograph: 200 × 230 pixels (preferred), 20–50 KB. A recent colour passport-style photo against a light, preferably white, background.
- Signature: 140 × 60 pixels (preferred), 10–20 KB. Signed in black ink on white paper.
- Left thumb impression: 240 × 240 pixels at 200 DPI (about 3 × 3 cm), 20–50 KB. In black or blue ink on white paper.
- Handwritten declaration: 800 × 400 pixels at 200 DPI (about 10 × 5 cm), 50–100 KB. Written in English, in black ink, on white paper.
Signatures and declarations written in capital letters are not accepted, and the signature you upload must match the one you sign at the exam. The declaration text is given in the notice; it usually reads along the lines of "I, (your name), hereby declare that all the information submitted by me in the application form is correct, true and valid. I will present the supporting documents as and when required." Copy the exact wording from your own notification.
In the resizer, choose Banking (IBPS) and you get a card for each of the four images with these sizes and 200 DPI already set.
SSC (CGL, CHSL, MTS, GD and others)
SSC changed its process: the application now captures your photograph live with a webcam, so you normally do not upload a photo file at all. Make sure you have a working camera, good front lighting and a plain background when you apply.
You still upload a signature, usually 140 × 60 pixels and 10–20 KB, in JPG. Choose SSC in the resizer to get that card.
UPSC (Civil Services and other exams)
UPSC asks for:
- Photograph: JPG, 20–200 KB, with a plain white background and your face covering about three quarters of the photo. Do not sign the photo. UPSC does not fix an exact pixel size, so the resizer uses a standard 35 × 45 mm passport shape.
- Signature: JPG, 20–100 KB, about 350–500 pixels. Recent notices ask you to sign three times, one below the other, and upload all three in one image.
UPSC also takes a live photo during the application and compares it with your uploaded photo, so use a recent, natural photo. Choose UPSC in the resizer; the signature card keeps the tall three-signature shape and trims the image to the ink.
NEET UG (NTA)
The NTA bulletin asks for several images, all JPG:
- Passport-size photo: 10–200 KB.
- Postcard-size photo (4 × 6 inches): 10–200 KB.
- Signature: sources differ between 4–30 KB and 10–100 KB, so a file between 10 and 30 KB satisfies both.
- Fingers and thumb impressions of both hands, together in one image: sources differ again, and 50–200 KB is the safe overlap.
NTA also captures a live photo. Choose NEET (NTA) in the resizer for all four cards.
Any other form: use a custom size
State exams, scholarships, university admissions and job portals all have their own rules. Choose Custom size and enter the width, height, minimum and maximum KB from your form. The same checks apply.
If a form only gives a maximum file size and no dimensions, our guide on how to resize a photo to a specific KB size explains the options, and the Image Compressor and Image Resizer handle those cases.
How to prepare each image, step by step
- Take the photo or scan. For a photograph, stand facing a window against a plain light wall, with no shadows and no glasses glare. For a signature, thumb impression or declaration, use black ink on plain white paper and photograph it in daylight from directly above.
- Open the Exam Photo & Signature Resizer and choose your exam.
- Add each image to its card. Photos from your phone work fine. iPhone HEIC photos need converting first with HEIC to JPG.
- Position it. Drag the image to frame it and use the zoom slider. Signatures and thumbs are framed automatically around the ink. Use Rotate if the photo is sideways.
- Clean up signatures. The clean-up option turns grey or shadowed paper pure white and makes the ink darker, which helps both the file size and how clear it looks when shrunk.
- Check the results. Each card shows the pixel size, the file size against the allowed range and the format, in green when they pass.
- Download each file and upload it to the form.
What the numbers mean
Pixels are the image's width and height. Portals check them exactly or say "preferred", but a mismatch often triggers an error, so match them.
KB is the file size. A JPG's size depends on its pixels and its quality setting. The resizer finds the highest quality that still fits the maximum, so the image stays as sharp as allowed.
DPI (dots per inch) is a label stored in the file about print size. It does not change the pixels, but some portals and notices mention 200 DPI, so the resizer sets it where the notice asks.
The minimum size problem. A small, plain image, such as a 140 × 60 pixel signature on white paper, can come out smaller than the 10 KB minimum even at the best quality. The resizer then adds harmless padding inside the JPG so it meets the minimum. The picture is not changed, and the card tells you when this happens.
Common reasons for rejection
- Wrong background: busy, dark or shadowed backgrounds. If you only have a photo with a cluttered background, the Background Remover can replace it with white, but check that the result looks natural.
- Old or edited photos: live photo checks compare your face, so use a recent photo without filters.
- Signatures in capital letters: not accepted by most banking and government portals.
- Blurry or tiny signatures: sign larger than usual so it stays readable when shrunk to 140 × 60 pixels.
- Wrong format: PNG or HEIC files are rejected where JPG is required.
- Caps, dark glasses or covered faces: religious headwear is usually allowed if your face is fully visible.
Keep your files for next time
Once your images pass, keep the downloaded files together in one folder. Many exams use the same sizes, so you can reuse them, and SSC-style one-time registrations keep your details for later applications. If you also need printed photos for admit cards or document verification, the Passport Photo Maker makes a printable sheet. And if a form asks you to upload certificates as a single PDF, the Image to PDF tool combines photos of your documents into one file.
Quick checklist
- Check the photo and signature section of your own notification.
- Choose your exam in the Exam Photo & Signature Resizer, or enter a custom size.
- Use a recent photo on a plain light background, and sign in black ink on white paper.
- Make sure every check is green, then download.
- Keep the files for your next application.
Getting the images right takes a few minutes and saves a failed application. With the sizes built in and checks you can see, you can upload with confidence.