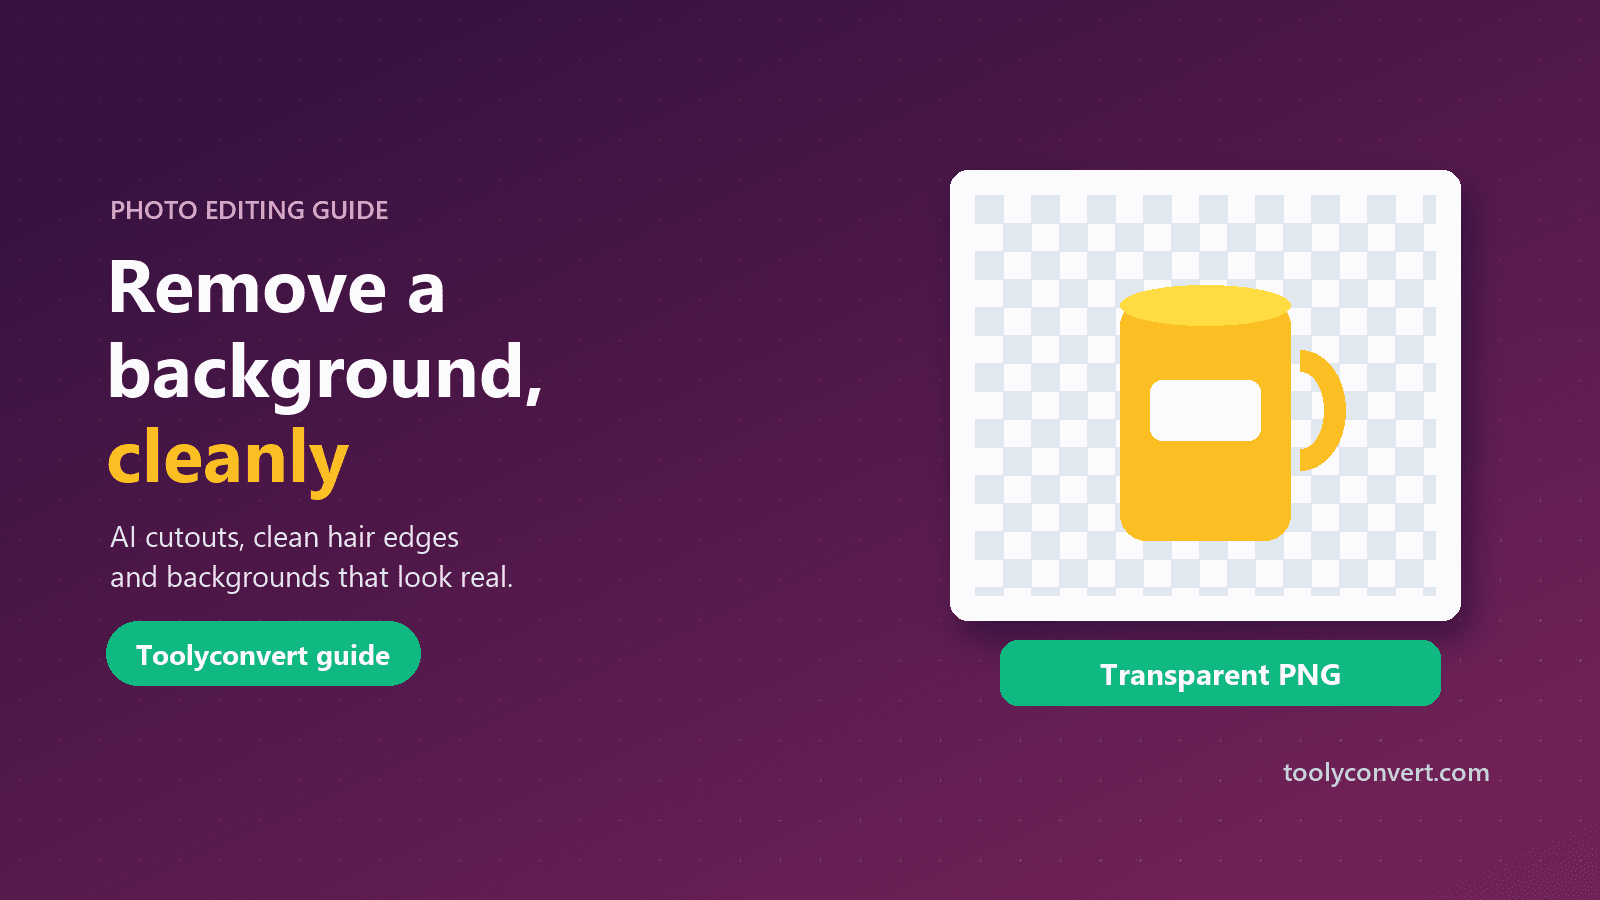
You took a decent photo of the thing you want to sell, the person you want to feature or the logo you want to reuse, but the background is wrong. A kitchen counter behind a handmade mug. A crowded office behind a headshot. A coloured wall behind a signature. A few years ago, fixing that meant an hour with the pen tool in Photoshop. Today an AI model does the first 95 percent in a few seconds, and the skill is in the last five percent: the edges, the halo, the file format and the new background.
This guide walks through the whole job, from choosing a photo that cuts out well to exporting a file that looks clean on a white marketplace page, a dark website or a printed T-shirt.
How AI background removal actually works
Background removers use a segmentation model: a neural network trained on many thousands of photos where people have marked which pixels belong to the subject. Given a new photo, the model predicts, for every pixel, how likely it is to be part of the foreground. The result is a mask, a grey-scale image where white means "keep", black means "remove" and the greys in between become soft, partly transparent edges.
Two things follow from that:
- The model judges by what it has seen. People, pets, products and cars cut out well because they are common in training data. Unusual subjects, such as a glass sculpture or a tangle of cables, are harder.
- Edges are a probability, not a line. Hair, fur, lace and motion blur produce mid-grey values. That is why the edge controls matter so much after the AI step.
The Background Remover offers two models. Standard is tuned for people and everyday photos. Fine detail often gives crisper edges on products and objects. If one model leaves a soft edge or misses a handle, re-run the same photo with the other; it takes one click and costs nothing.
Choose a photo that cuts out well
Most bad cutouts start with a hard photo. Before you upload, check three things:
- Contrast between subject and background. A white mug on a white table, or dark hair against a dark wall, gives the model very little to work with. If you can reshoot, put the subject in front of something that contrasts in colour and brightness.
- Sharp focus on the edges. Motion blur and shallow depth of field make edges ambiguous. A slightly smaller aperture or better light helps more than any editing.
- Enough resolution. The cutout can only be as detailed as the original. A 600-pixel-wide photo will look soft when printed, whatever you do afterwards.
Even light also helps. Strong coloured light from a window or a red wall spills onto the edges of the subject, and that colour fringe is what you later have to clean up.
Remove the background step by step
- Open the Background Remover and choose Standard or Fine detail.
- Upload the photo. JPG, PNG, WebP, GIF and BMP files up to 20 MB work, and you can paste an image from the clipboard. No photo to hand? Try one of the samples.
- Wait a few seconds. Only this AI step runs on a server; the image is deleted straight after, and everything else happens in your browser.
- Check the result. Hold the eye button to compare with the original, and zoom in on the edges.
- Refine (see the next section) and download as PNG, JPG or WebP at the full resolution of your original.
Clean up edges, hair and halos
This is where a cutout goes from "obviously edited" to "looks professional".
Erase and Restore brushes. Erase removes anything the model kept by mistake, such as a bit of table under a mug. Restore brings back parts it removed, such as a thin handle or the tips of a plant. Lower the hardness for soft edges like hair, raise it for hard product edges, and use the [ and ] keys to change brush size while you work.
Edge sensitivity and smoothing. Sensitivity moves the cut line: lower values remove more of the uncertain edge, higher values keep more. Smoothing evens out jagged steps along straight or curved edges, which matters most on products.
Feather. A small feather (one or two pixels) softens the transition so the subject does not look like a sticker. Too much feather makes the subject look out of focus.
Edge shift. The classic sign of a cutout is a thin white or coloured outline, the halo left over from the original background. A small negative edge shift pulls the edge inward and removes it.
Decontaminate. Even after shifting the edge, semi-transparent pixels around hair keep some of the old background colour. Decontamination replaces that colour with colour from the subject, which is what makes a cutout taken against a green wall look right on white.
A useful habit: after refining, switch the background to black and then to white. Halos that hide on one show up immediately on the other.
PNG, JPG or WebP: pick the right format
| Format | Transparency | Best for |
|---|---|---|
| PNG | Yes | Logos, product cutouts to place on other designs, print |
| WebP | Yes | Websites, where a smaller file loads faster |
| JPG | No | Photos with a new solid or image background, email, marketplaces |
If you download a JPG, the transparent area is filled, so choose your background first. If you need transparency, choose PNG or WebP. For web pages, a WebP with transparency is usually much smaller than the same PNG, and you can shrink it further with the Image Compressor. If a site needs exact pixel sizes, resize afterwards with the Image Resizer; our guide on resizing a photo to a specific KB size covers upload limits on forms and portals.
Add a new background that looks natural
Transparent is not always the goal. Marketplaces often want pure white, and a profile photo usually looks better with a soft, neutral colour.
- Solid colour. Pure white (#FFFFFF) is the standard for many marketplaces. For profile photos, a light grey or muted blue looks more natural than pure white.
- Gradient. A subtle gradient adds depth to product shots and social posts. Keep the two colours close in brightness.
- Your own image. Placing a subject on a new scene works best when the light direction and perspective match. A person lit from the left will look pasted onto a scene lit from the right.
- Blur. Blurring the original background, instead of replacing it, gives a portrait-mode look and is the most forgiving option because the colours and light already match.
Put your cutout to work
A clean cutout is the start of many other jobs. Sellers use it for marketplace listings and catalogues, designers layer it into posters and thumbnails, and small brands turn it into merchandise. The "Put on a mockup" button sends the cutout straight to the Image Mockup Editor, where you can place it on a mug, T-shirt, tote bag or poster with curved, realistic printing. Our guide on making a product mockup explains how to make that result look printed rather than pasted.
Before you share any photo publicly, it is worth checking what else it reveals. Phone photos often carry the GPS location where they were taken, and the EXIF Viewer & Remover removes it without touching image quality.
Common problems and quick fixes
Part of the subject disappeared. Re-run with the other model first. If a small part is still missing, use the Restore brush.
There is a white outline around the subject. Use a small negative edge shift, then a little decontamination.
Hair looks like a helmet. Lower the brush hardness, restore the fine strands at the edge, and avoid heavy smoothing, which rounds off detail.
Shadows were removed and the product looks like it is floating. That is normal for cutouts. Add a soft shadow in your design tool, or keep a little of the original background with a blur instead.
The file is huge. Export as WebP for the web, or JPG if you have a solid background, and compress it afterwards.
Frequently asked questions
Is it free?
Yes, with no sign-up and no watermark. The AI step has a fair-use limit of about 10 images a minute per person.
Are my photos kept?
No. The photo is sent over an encrypted connection only for the AI step and deleted immediately after. Editing and export happen in your browser.
Can I remove the background from a logo?
Yes. For flat logos with clean edges, Fine detail often gives the sharpest result. If you have the original vector file, use that instead for print.
What resolution do I get?
The full resolution of the photo you uploaded.
A good cutout comes from three habits: start with a photo that has contrast, spend a minute on the edges, and export in the format the next step needs. Open the Background Remover, try both models on your photo, and check the result on black and white before you call it done.